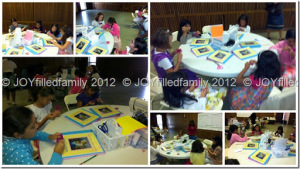
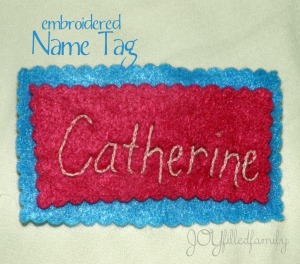
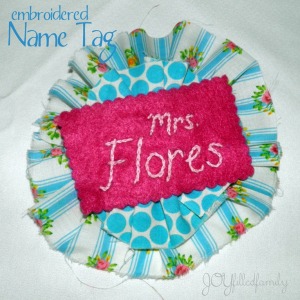
The felt name tag is a simple embroidery project that I used for my RMGS girls. I ended up using felt that I had stashed away in the craft room. I believe it was felt that Rose used for her Christmas gifts from two years ago – felt posies.
The members of Rosa Mystica Girls’ Society will use the name tags for meetings, social events, and service projects.
~~~
FELT NAME TAG
Supplies:
- felt
- safety pins
- embroidery floss
- embroidery needle
- scissors (pinking shears)
- hot glue gun
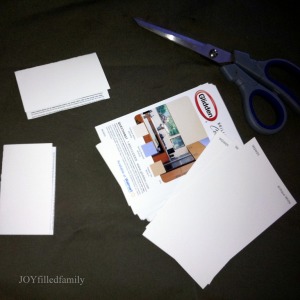
- paint chip cards or cardstock or recycled plastic credit card/gift card
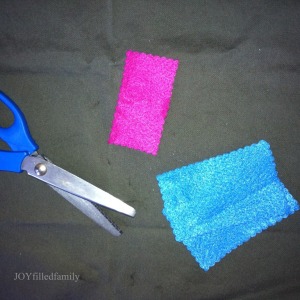
- cut felt to desired shape and size (felt 1)
- trim out with pinking shears
- write name on felt with sharpie
- embroider name onto felt with a split stitch
- more threads in the floss will yield a bolder name
- cut another piece of felt (felt 2), slightly bigger than the felt with the embroidered name (felt 1)
- trim out with pinking shears
- (optional) stich the embroidered Felt 1 to the backing – Felt 2, using a running stitch around the parameter
- double up the paint chip or cardstock by gluing two pieces together
- trim the glued pieces to a size slightly smaller than the largest piece of felt (felt 2)
7. hot glue Felt 2 to the cardstock backing
8. (to be done if step 5 was not completed) hot glue Felt 1 to Felt 2 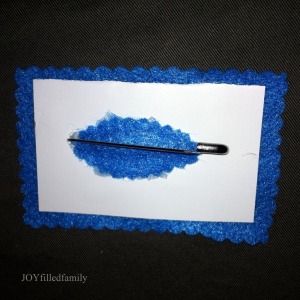
9. adhere a safety pin to the pack of the assembled felt pieces, using hot glue
10. embellish as desired
~~~
Embroidery Links
What a gorgeous family you have…wow! I love the stash project. Those name tags came out nicely. Thanks for joining me. Tricia